
PREPARE BEFORE THE FIRST FREEZE
Know what to look for.
Know what to do next.
- 01
Find the gaps before the cold does.
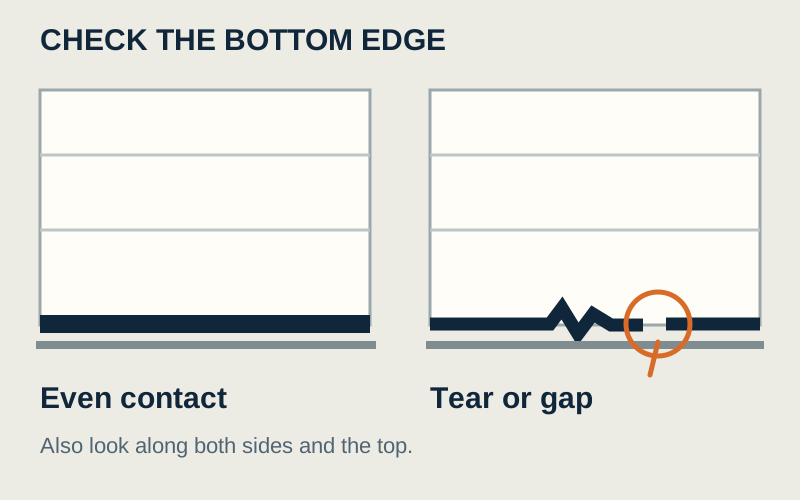
Illustration: start with the bottom edge, then look at the sides and top. Look for
With the door closed, look for split, flattened, or missing rubber. Notice daylight at the edges and places where rain gets in.
Do next
Make a note of the location: bottom left, bottom center, side, or top. A photo taken from a safe standing position can help explain the concern.
Get help when
A worn seal, uneven concrete, and a door that closes crooked need different fixes. Ask for the cause to be checked before choosing a replacement.
Keep fingers out of panel joints and away from moving parts.
- 02
Give the door a clear place to land.
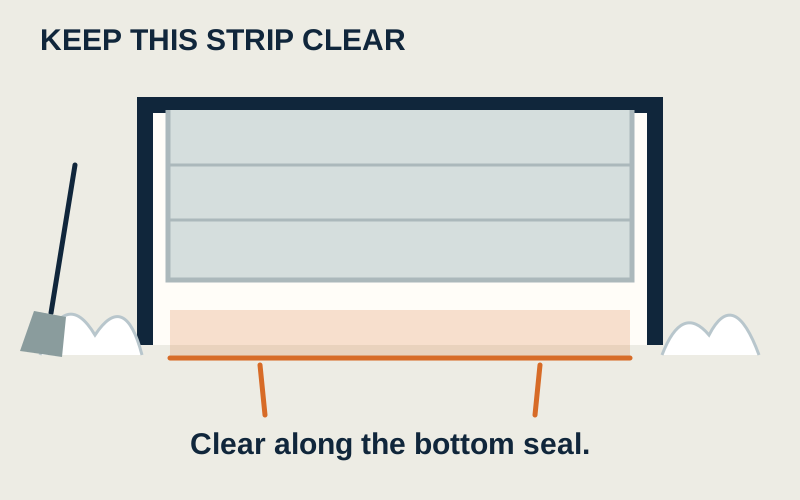
Illustration: the strip under the bottom seal needs attention after snow arrives. Look for
Leaves, gravel, stored items, or snow in the opening or sensor path.
Do next
Move loose debris and storage out of the way. Keep a broom and shovel accessible without blocking the door.
Get help when
If the bottom seal is frozen to the ground, stop the opener and ask for advice before trying again.
Do not force a frozen door open.
- 03
Listen to the door you know.
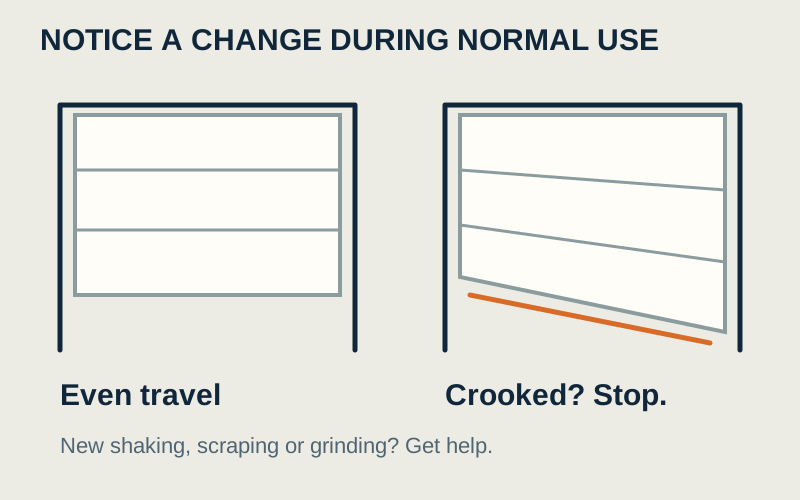
Illustration: a crooked door is a stop sign, not a test to repeat. Look for
During normal use, notice new grinding, scraping, jerking, or one side moving differently. Watch from outside the travel path.
Do next
Write down when it happens: starting, halfway, or near the floor. Observe only a door that appears intact and operates normally.
Get help when
A tilted door, loose cable, visible spring break, or damaged track needs a trained technician. Leave it in place and keep people clear.
Do not adjust springs, cables, tracks, or bottom brackets.
- 04
Keep the sensors in sight.
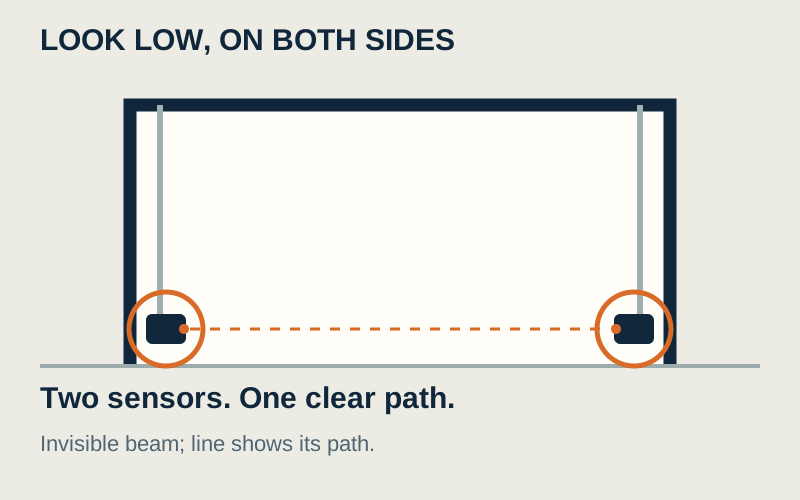
Illustration: your sensors may look different. The beam is not visible. Look for
Find the sensors low on each side of the opening. Check for a box, shovel, leaves, or grime in the path between them.
Do next
Clear obstructions. Use the opener manual for lens cleaning and safety-test instructions; indicator colors vary by model.
Get help when
If closing problems continue or the manual’s safety test fails, arrange service.
Never bypass a sensor or turn up closing force to overcome a problem.
- 05
Avoid the locked-out morning.
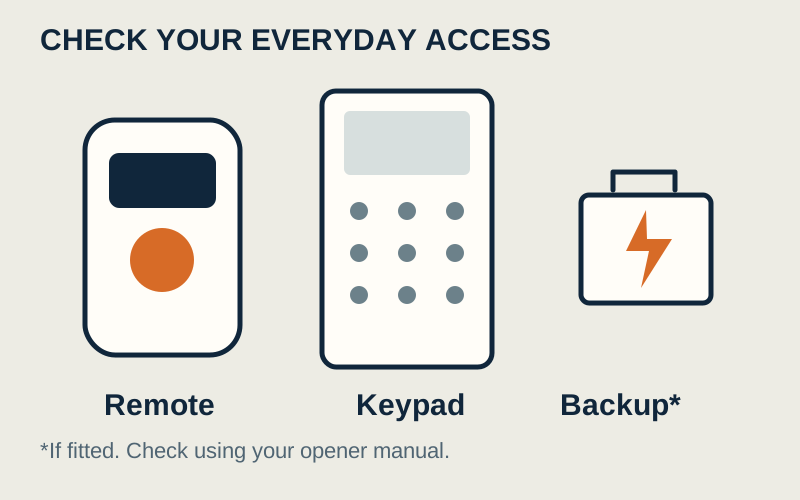
Illustration: remote, keypad, and backup checks are model-specific. Look for
A remote that is intermittent or a keypad you rarely use.
Do next
While the door works normally, check your controls and replace weak batteries according to their instructions. If fitted, check battery backup using its manual.
Plan ahead
Confirm another way into the home and read the emergency-release instructions before an outage.
Never pull the emergency release on a raised or unstable door.
- 06
Match the maintenance to your door.
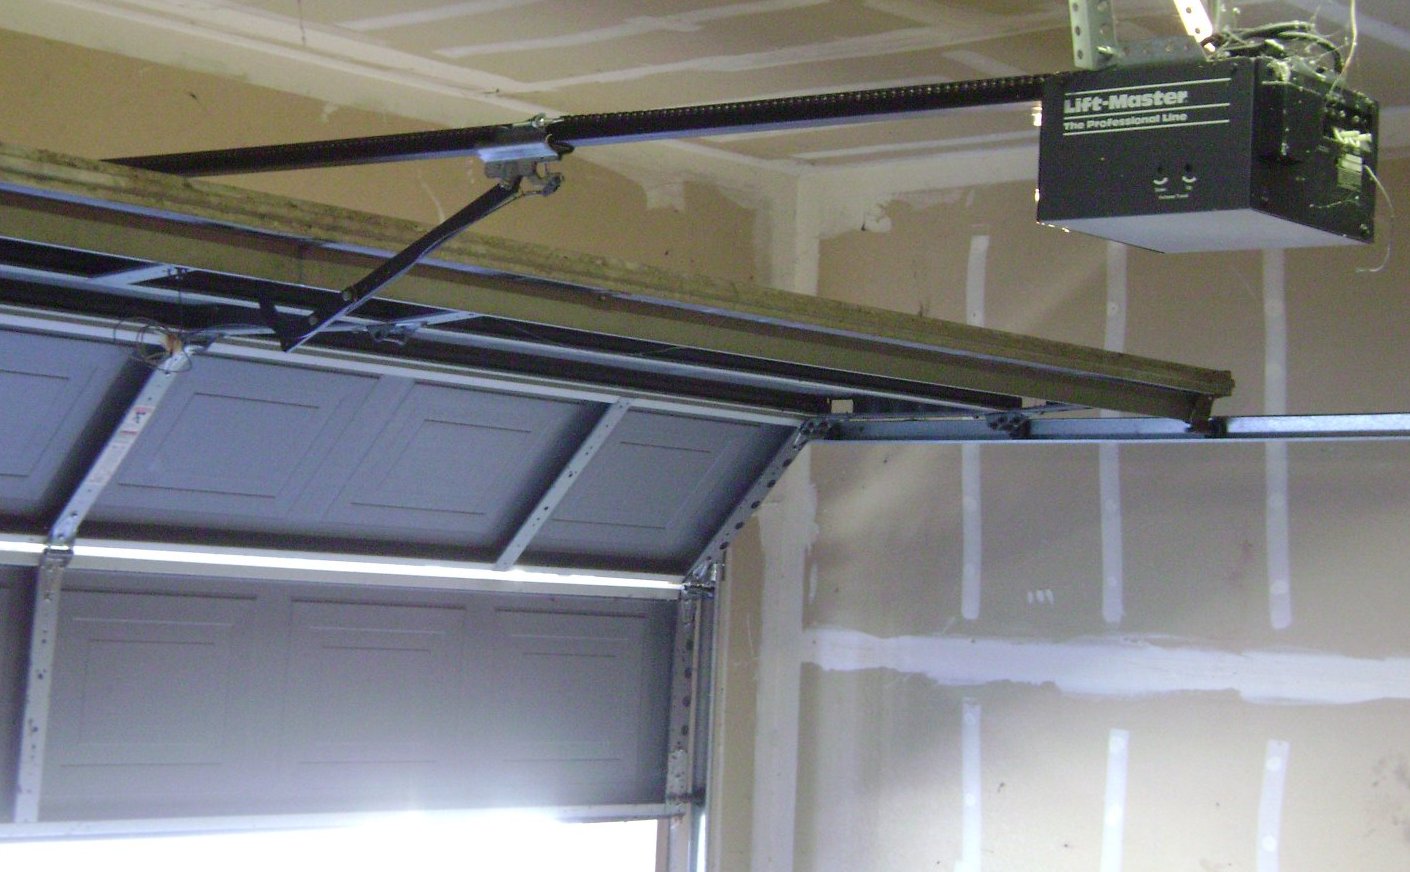
Real photo: an older chain-drive opener. Your model may need a different routine. Look for
Find the brand and model in your paperwork or a safely readable label. Door and opener instructions can be separate.
Do next
Use the correct manuals to decide what needs cleaning or lubrication. Avoid a blanket “spray everything” routine. Follow power-disconnection instructions for maintenance.
Get help when
Ask a technician to check balance, spring and cable condition, roller wear, and safety operation when there is a concern or you cannot safely complete the routine.
Leave tensioned parts and hardware repairs to a trained professional.
Note a gap, unusual sound, battery to replace, or question for a technician. These notes stay in this page until you close or reload it.
ONCE WINTER ARRIVES
After a snowfall,
recheck the opening.
- Clear snow and loose debris where the bottom seal lands.
- Keep snow tools and stored items out of the sensor path.
- If the door is stuck to ice, stop using the opener. Do not force it.
- Report new scraping, uneven movement, or repeated closing trouble.
WHEN TO STOP
Some problems need a technician before another cycle.
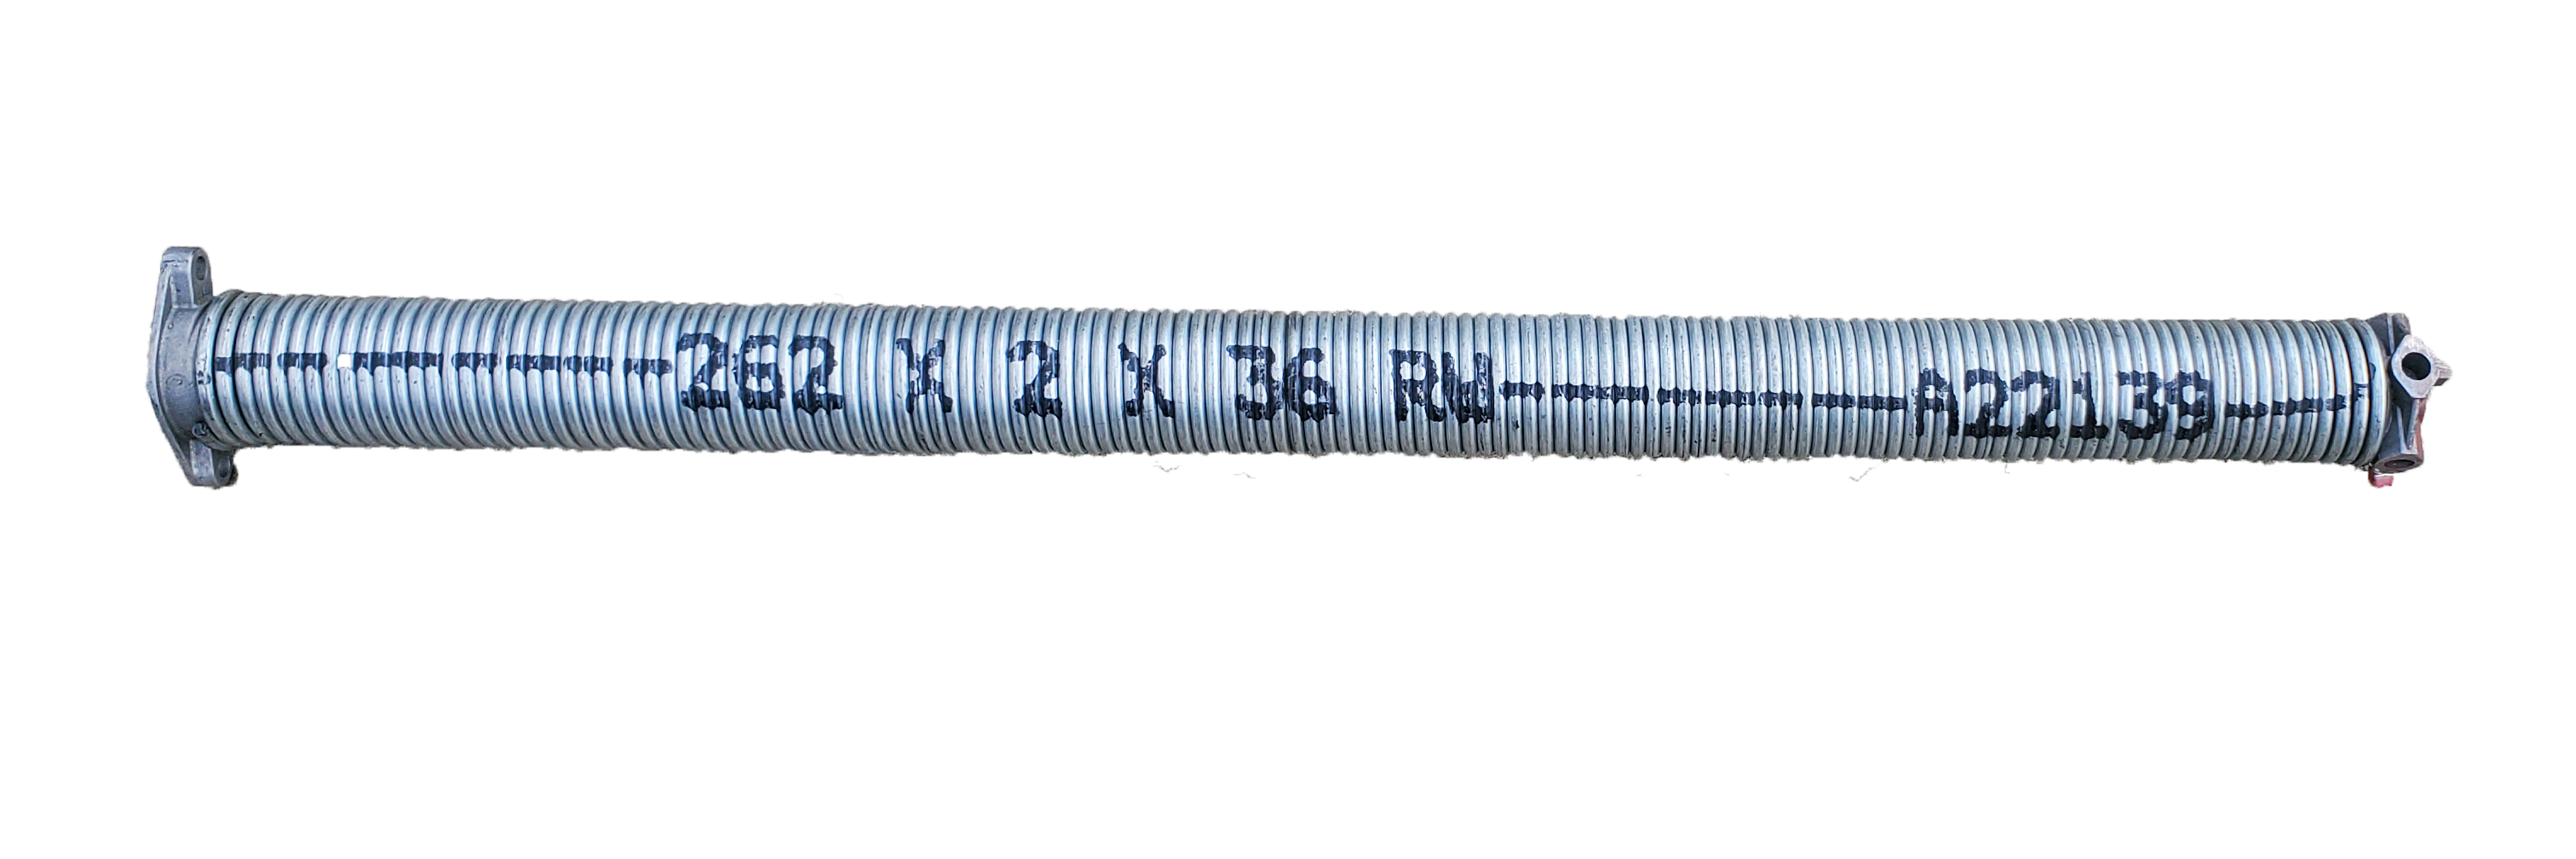
Stop for a crooked door, loose or frayed lift cable, visible spring break, or damaged track. Do not run the opener, lift the door, or pull the release to investigate. Keep people clear and leave the door in place.
When requesting help, say whether the door is open or closed, whether a vehicle is trapped, and what changed. You do not need to name the failed part.
More about broken-spring warning signsTURN A CONCERN INTO A CLEAR NEXT STEP
Tell us what you noticed.
Share the symptom, your ZIP code, and whether the door is open or closed. CLE will confirm coverage and available appointments, inspect the concern, and explain the work before you decide.
Serving Cleveland’s west side and surrounding communities, including Avon Lake, Westlake, Bay Village, Rocky River, and Lakewood. View service areas.
Ask about garage door serviceSources & image credits.
Guidance checked against DASMA door safety, DASMA inspection guidance, Genie maintenance guidance, Genie winter preparation, and Clopay weather-seal guidance. Always use the instructions for your exact model.
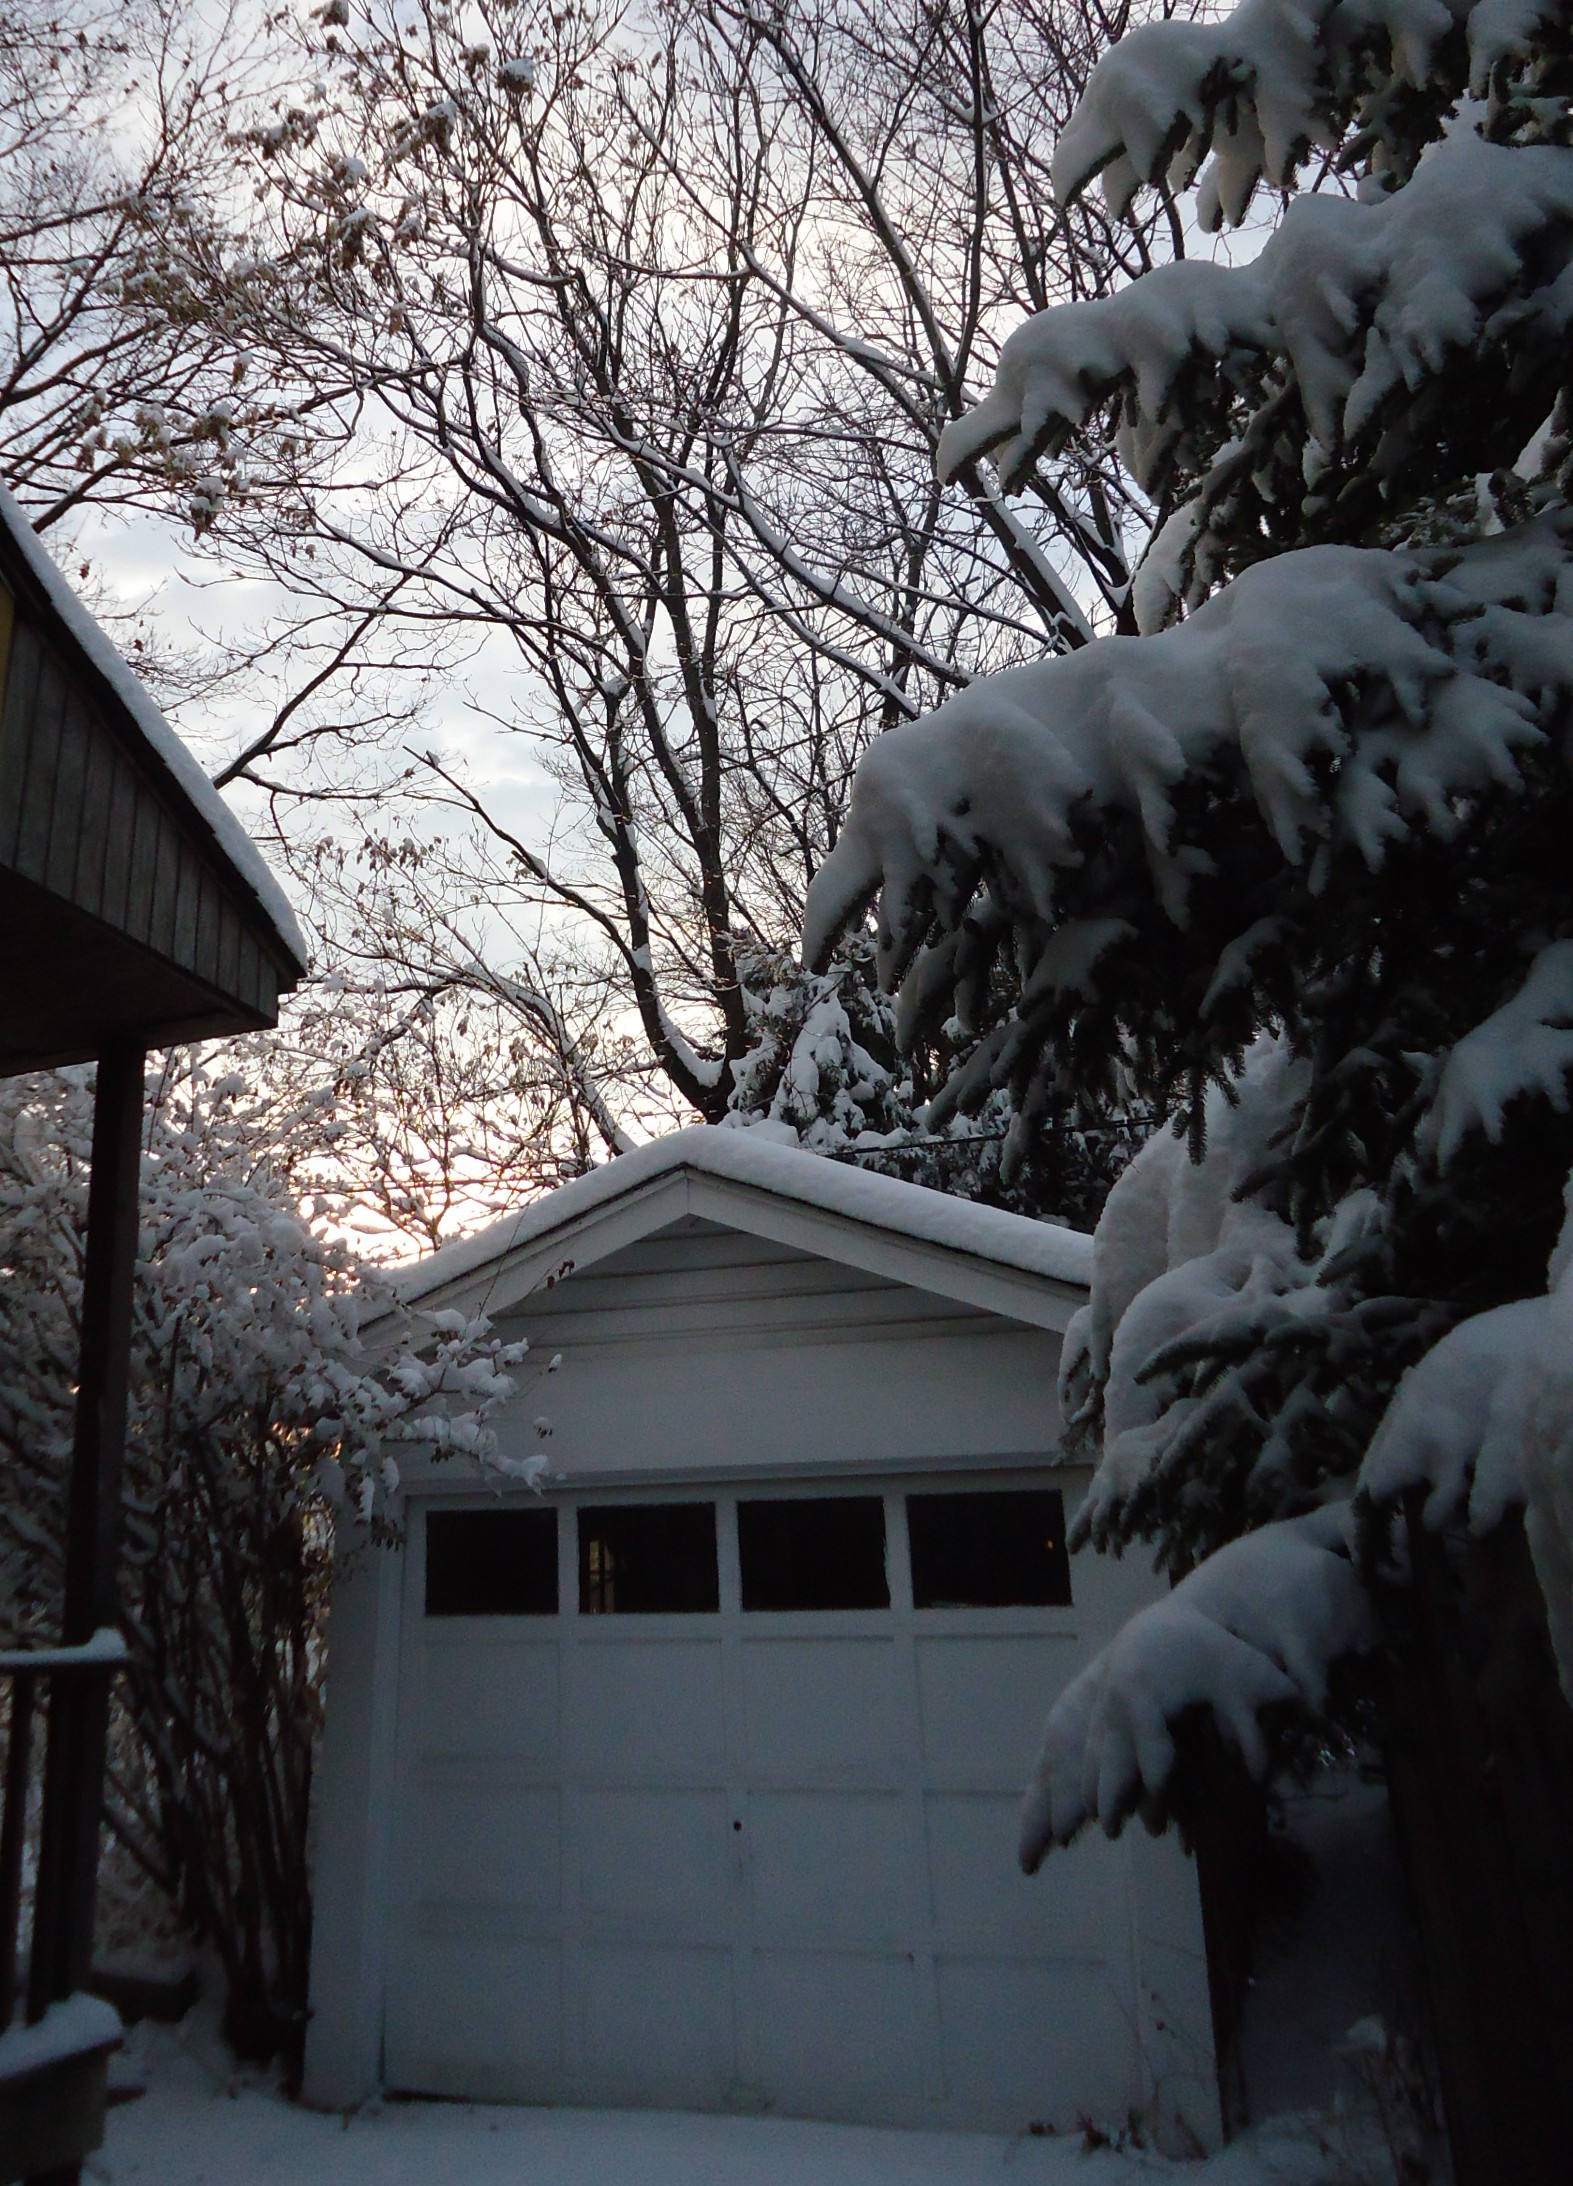
Real reference photos: snowy garage by Tomwsulcer (CC0, photographed in New Jersey); opener by Oleg Alexandrov (public domain); torsion spring by Blizzard6204 (CC0). These are reference images, not CLE customer jobs. The five diagrams were created for this guide and show simplified examples.


Community publishers may link to the guide. This is general preparation guidance, not a diagnosis or safety certification. Checkmarks and personal notes are not sent to CLE.